Colorful Mini Layer Cakes
Colorful Mini Layer Cakes are the perfect treat for any celebration! With their vibrant hues and delightful layers, they are sure to bring smiles to faces young and old alike. These mini cakes are not only a feast for the eyes but also boast a wonderfully light texture and a sweet taste that will leave you craving more. Whether you’re hosting a birthday party, a family gathering, or just want to indulge in something special, this recipe is both simple and enjoyable. It’s a step-by-step guide that will have you baking these delightful treats with ease.
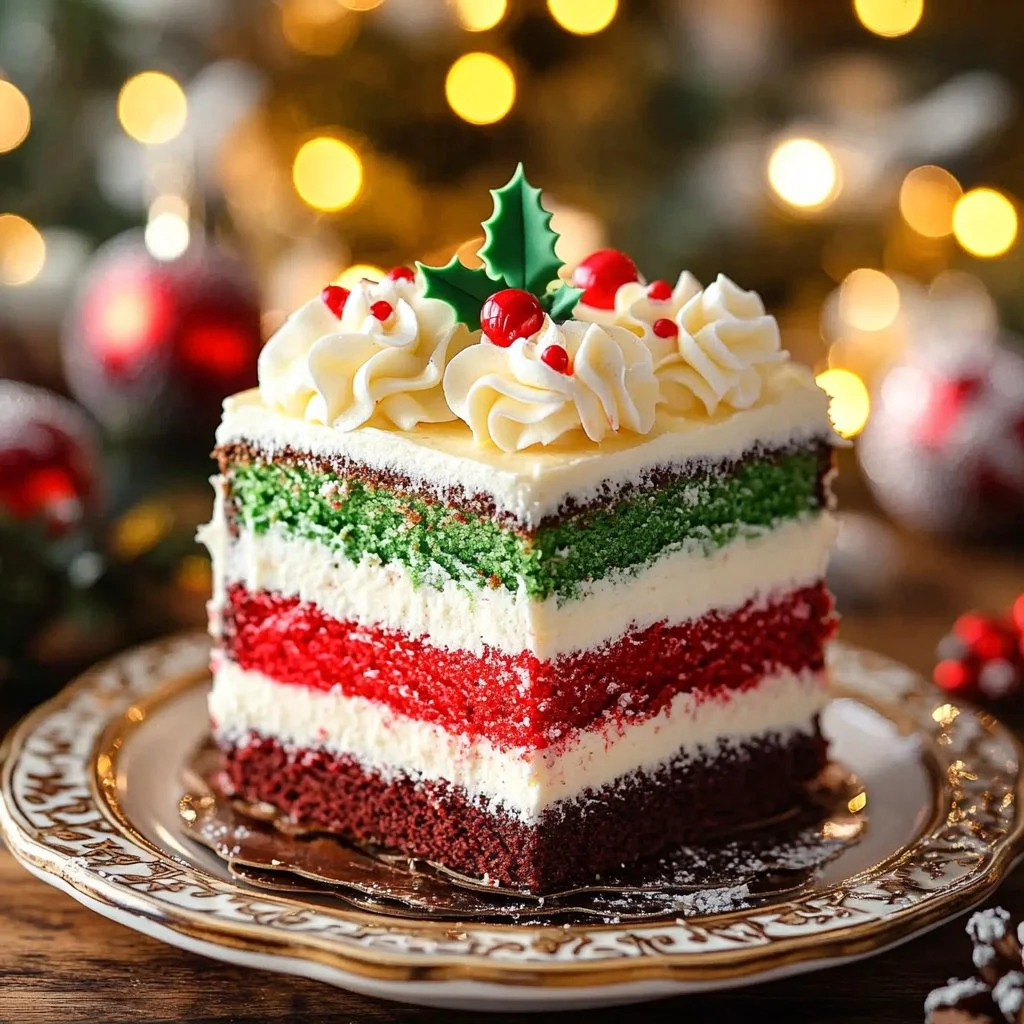
The joy of baking Colorful Mini Layer Cakes lies in their versatility and their ability to spark creativity in the kitchen. The contrasting colors of red and green provide an appealing aesthetic that will draw everyone in. Plus, the addition of rich buttercream frosting and chocolate coating makes every bite a heavenly experience. Get ready to impress your loved ones with these delicious mini cakes; they’re sure to become a new favorite!
Why You’ll Love This Recipe
This Colorful Mini Layer Cakes recipe is a hassle-free delight for everyone involved. It requires minimal ingredients and preparation, making it perfect for beginners and seasoned bakers alike. The straightforward steps allow you to whip up these charming desserts in no time, which is especially valuable when you’re tight on time but still want to create something beautiful.
Family-friendly and easy to customize, these cakes can be tailored to any occasion or holiday by changing the food coloring for the layers. With a vibrant presentation and rich flavors, they make for eye-catching treats at parties and gatherings. This recipe is bound to earn you compliments and serve as a memorable centerpiece at your next celebration!
For Colorful Mini Layer Cakes
Ingredients
- 1 box white or vanilla cake mix
- 1 ounce red food coloring
- 1 ounce green food coloring
- 1 teaspoon vanilla extract
- Water, oil, and eggs as called for on the cake mix box
- 2 cups buttercream frosting
- 1/4 teaspoon peppermint extract (optional, but adds a lovely flavor twist)
- 16 ounces Candyquick chocolate
- 2 tablespoons shortening (if using regular chocolate)
These ingredients come together to create a symphony of taste and color. The cake mix serves as the canvas for the vibrant layers, while the buttercream frosting adds a creamy, luscious sweetness that complements the moist cake. The optional peppermint extract can elevate the flavors, making it a refreshing treat. When it comes to finishing with chocolate, the glossy coating transforms the cakes into indulgent bites that are simply irresistible.
Step-by-Step Directions
Start by preheating your oven to 350 degrees F (175 degrees C). Prepare your baking pans by lining them with parchment paper and spraying them with a non-stick baking spray to ensure the cakes release easily.
Follow the instructions on the cake mix box to prepare the batter. Once your batter is mixed, divide it evenly between two bowls.
Add red food coloring to one bowl and green food coloring to the other, stirring until fully combined. This will give your cakes their delightful, colorful layers.
Pour the red batter into one of the prepared pans and the green batter into the other. Bake the cakes for 12-15 minutes, tapping the pans gently at the 6-minute mark to help them rise evenly.
Once baked, allow the cakes to cool completely on wire racks. This ensures that they set properly and are easy to work with.
Once cooled, spread a generous layer of buttercream frosting evenly over the green cake layer. Gently place the red layer on top of the green layer, frosting side down.
Chill the layered cake in the refrigerator for about 30 minutes, until firm. This will make cutting easier and neater.
Using a round cutter, cut mini cakes from the chilled layered cake. Place them on a wire rack over a parchment-lined baking sheet.
Melt the Candyquick chocolate according to the package directions, adding shortening if you’re using regular chocolate to help it flow smoothly.
Carefully pour the melted chocolate over each mini cake, ensuring complete coverage. Allow the chocolate to set until firm.
Tips & Tricks
Here are some chef’s secrets to elevate your Colorful Mini Layer Cakes:
When adding food coloring, start with a small amount and gradually add more until you achieve your desired color.
If you want a more pronounced flavor, consider adding a splash of almond extract to your buttercream frosting.
For a festive touch, consider sprinkling edible glitter or colored sprinkles on top of the chocolate once it has set.
If you’re feeling adventurous, you can also slice the mini cakes horizontally to create more layers, then frost between each layer for even more color.
Store any leftover cakes in an airtight container in the refrigerator for the best taste and freshness.
Serving Suggestions & Pairings
Colorful Mini Layer Cakes are incredibly versatile when it comes to serving. Present them on a decorative cake stand to create a stunning centerpiece. You can serve them with a scoop of vanilla ice cream for a delightful dessert combo, or garnish with fresh berries for a pop of freshness.
Pairing these mini cakes with a warm cup of spiced tea or a rich hot chocolate enhances the overall experience. You can also create a dessert platter with assorted mini treats to complement their vibrant colors and flavors.
Nutritional Information
Each serving of Colorful Mini Layer Cakes is an indulgent delight. While exact nutritional values can vary based on specific ingredients and serving sizes, consider that these cakes typically provide around 250-350 calories per mini cake when topped with frosting and chocolate. They are a delightful treat but should be enjoyed in moderation, especially if watching your calorie intake!
Storing Tips & Variations For Colorful Mini Layer Cakes
To keep your Colorful Mini Layer Cakes fresh, store them in an airtight container in the refrigerator where they will last for up to three days. If you’d like to extend their life, these cakes can also be frozen. Slice and wrap each mini cake in plastic wrap, followed by foil, before placing them in a freezer-safe container. They can last up to three months in the freezer.
For healthier swaps, consider using a lighter cake mix or a homemade version that incorporates whole wheat flour and natural sweeteners. You can also explore creative variations by using different colors to match the theme of your event!
Conclusion For Colorful Mini Layer Cakes
Don’t wait any longer! Try making Colorful Mini Layer Cakes yourself, and watch them steal the show at your next gathering. Their vibrant beauty is matched only by their delightful taste, making them a perfect choice for any occasion. Gather your ingredients and kick off your baking adventure today – you, your family, and friends will love every sweet bite!
FAQs
Q1: Can I use homemade cake mix for this recipe?
A1: Absolutely! You can use your favorite homemade vanilla cake recipe instead of a box mix.
Q2: How do I achieve bright and vibrant colors?
A2: Use gel food coloring instead of liquid dye for more intense colors and better results.
Q3: Can I make these cakes gluten-free?
A3: Yes! Substitute the cake mix with a gluten-free version, and make sure to use gluten-free baking ingredients.
Q4: How long will the mini cakes stay fresh?
A4: Stored in an airtight container in the fridge, they can last for up to three days. They can be frozen for up to three months.
Q5: Can I use different flavors of frosting?
A5: Definitely! Feel free to use any flavor of frosting you prefer, like chocolate or cream cheese, for a unique twist on the recipe.

Colorful Mini Layer Cakes
Ingredients
For the Cake
- 1 box white or vanilla cake mix
- 1 ounce red food coloring
- 1 ounce green food coloring
- 1 teaspoon vanilla extract
- Water, oil, and eggs as called for on the cake mix box
For the Frosting and Coating
- 2 cups buttercream frosting
- 1/4 teaspoon peppermint extract (optional) Adds a lovely flavor twist
- 16 ounces Candyquick chocolate
- 2 tablespoons shortening (if using regular chocolate) Helps chocolate flow smoothly
Instructions
Preparation
- Preheat your oven to 350 degrees F (175 degrees C). Prepare your baking pans by lining them with parchment paper and spraying them with a non-stick baking spray.
- Follow the instructions on the cake mix box to prepare the batter. Once mixed, divide it evenly between two bowls.
- Add red food coloring to one bowl and green food coloring to the other, stirring until fully combined.
- Pour the red batter into one of the prepared pans and the green batter into the other. Bake for 12-15 minutes, tapping the pans gently at the 6-minute mark.
- Allow the cakes to cool completely on wire racks.
Assembly
- Spread a generous layer of buttercream frosting over the green cake layer. Place the red layer on top, frosting side down.
- Chill the layered cake in the refrigerator for about 30 minutes.
- Using a round cutter, cut mini cakes from the chilled layered cake.
Finishing
- Melt the Candyquick chocolate according to the package directions, adding shortening if using regular chocolate.
- Pour the melted chocolate over each mini cake, ensuring complete coverage. Allow the chocolate to set until firm.