Grilled Cheese Burrito: When Two Comfort Food Legends Have a Beautiful Baby
Grilled Cheese Burrito is a mouthwatering fusion of two beloved classics that invites you to experience an explosion of flavors and textures in every bite. Imagine biting into a warm, toasted tortilla that encases a cheesy, savory filling, oozing flavors and comfort that make your heart sing. This dish is not just a meal; it’s an experience that transforms everyday cooking into an exciting culinary adventure. With its delightful crunch from the crispy cheese crust and the savory filling inside, this recipe is definitely worth making. Follow this step-by-step guide, and you’ll be ready to serve up smiles around your table!
Why You’ll Love This Recipe
This Grilled Cheese Burrito is not only a pleaser for the palate but also a practical meal solution. It involves easy prep and minimal ingredients, making it family-friendly and perfect for a busy weeknight dinner. You can whip it up in no time, thanks to its quick construction process, and even involve your kids in the assembly line for a fun family activity. Whether you opt for traditional flavors or a twist with your favorite fillings, this recipe allows customization that keeps everyone happy.
Ingredients for Grilled Cheese Burrito
The ingredients for this delightful dish read like a love letter to comfort food, each one bringing its own unique flavor to the table. Here’s what you’ll need:
- 4 large flour tortillas (burrito-size): Soft and pliable, perfect for wrapping.
- 2 cups cooked rice: Day-old rice works best, providing a hearty base that absorbs flavors.
- 1 can (15 oz) black beans, drained and rinsed: Creamy, earthy goodness adds fiber and protein.
- 2 cups shredded cheese (Mexican blend or cheddar): Melts beautifully for that gooey experience.
- 1 cup cooked protein (ground beef, chicken, carnitas, whatever): Versatile and fills up your burrito.
- 1/2 cup salsa or pico de gallo: A burst of freshness with spices and tang.
- 1/4 cup sour cream: Adds creaminess and helps balance the flavors.
- 2 tbsp taco seasoning: A delicious blend of spices that brings it all together.
- 1 diced jalapeño (optional): For a kick if you’re feeling adventurous.
- 1/4 cup diced onion and 2 cloves garlic, minced: Aromatic base that enhances every bite.
- Fresh cilantro, chopped: For a vibrant finish.
- Butter or olive oil for the pan: Perfect for frying to a golden crisp.
- Extra cheese for the outside (trust me on this): Creates that irresistible crust.
- Corn kernels, diced tomatoes, avocado or guacamole, hot sauce, pickled jalapeños, lettuce or spinach: Optional additions to elevate your burrito experience.
Step-by-Step Directions for Grilled Cheese Burrito
Step 1: Prep Your Filling
If your rice is cold, begin by warming it up in the microwave with a splash of water. This revitalizes the grains, making them fluffy and perfect for mixing. Season your rice with half the taco seasoning for that incredible flavor infusion. In a sizeable bowl, combine the seasoned rice, black beans, your chosen cooked protein, salsa, and the remaining taco seasoning. Taste your mixture and adjust the seasoning—this flavor base is crucial, so make it sing!
Step 2: Assembly Line Time
Now, lay your tortillas flat on a clean surface. Take about 1/4 of the filling and spread it along the center of each tortilla, ensuring to leave about 2 inches on each side. This space is essential for folding! Add a dollop of sour cream, sprinkle with cheese, and toss in jalapeños or any extra ingredients you desire. Remember, don’t overfill; you want to create a manageable burrito that wraps up easily.
Step 3: The Wrap Game
It’s time to fold! Tuck the sides of each tortilla over the filling, then roll from the bottom up, securing as you go. The key here is to maintain tension—your burrito should be snug enough to hold its shape without bursting.
Step 4: The Grilled Cheese Treatment
Heat a large skillet or griddle over medium heat and brush it with oil or butter. Here’s a chef’s secret: sprinkle some shredded cheese directly onto the pan where you will place the burrito. This creates a crispy, cheesy crust that takes the flavor profile to an entire level of deliciousness.
Step 5: Golden Brown Perfection
Carefully place the burrito seam-side down onto the melted cheese in the pan. Allow it to cook for 3-4 minutes, until golden brown and crispy. For the perfect flip, use a spatula to support the burrito and repeat on the other side. Your cheese should be melted and starting to ooze out—heavenly!
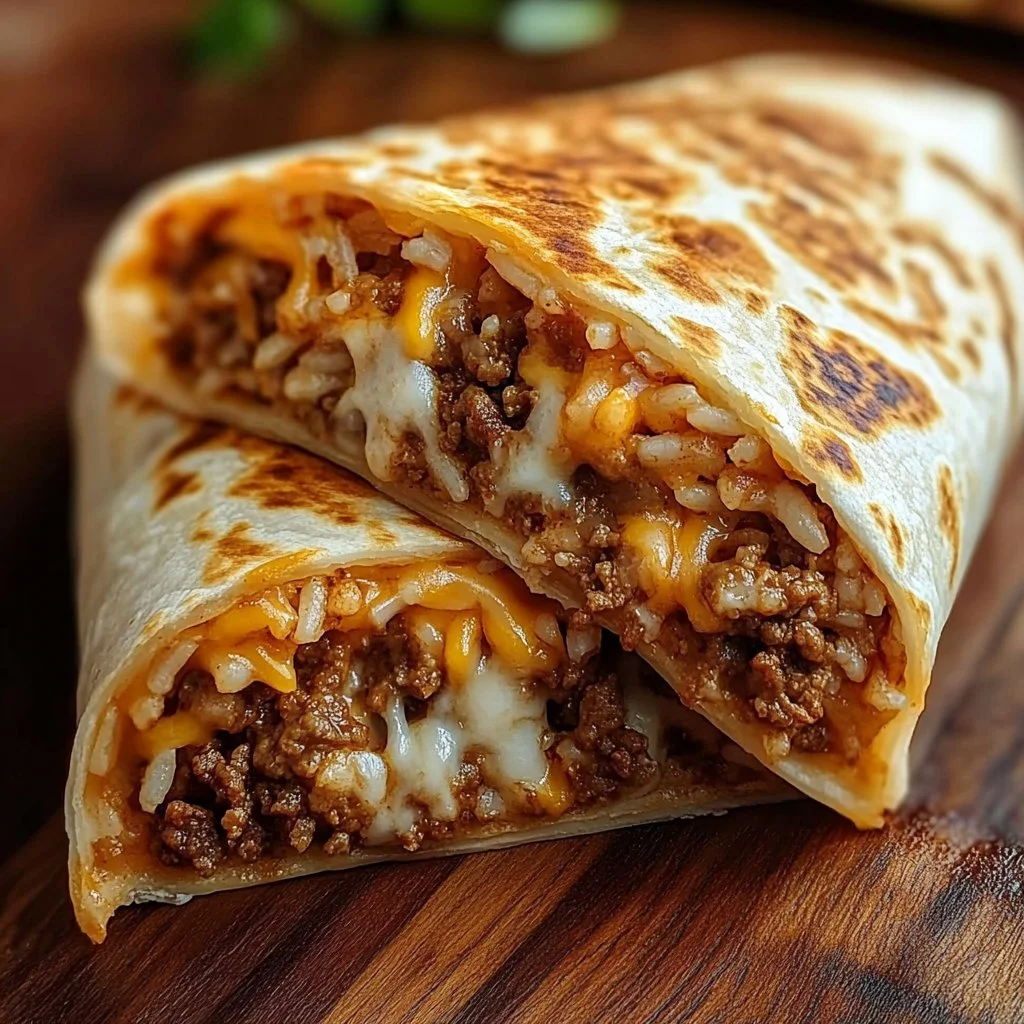
Step 6: Rest and Slice
Let the grilled cheese burrito rest for 2-3 minutes post-cooking. This helps everything set and makes slicing easier. Carefully slice diagonally to showcase that delicious inside, revealing the layers of flavor that await.
Tips & Tricks
To elevate your Grilled Cheese Burrito experience, don’t skip on the cheese for the outside. A bit of extra cheese adds texture and flavor that is worth it! If you want to turn up the volume on spice, consider adding diced chipotle or a sprinkle of red pepper flakes into your filling. You can also personalize your burritos with additional ingredients like corn or avocado for extra texture and creaminess.
Serving Suggestions & Pairings
Serving your Grilled Cheese Burrito can be as fun as making it! Garnish your slices with fresh cilantro and serve them alongside your choice of guacamole, hot sauce, or even a bright, zesty salad. Consider pairing it with a refreshing beverage like iced tea or lemonade to balance the rich, cheesy flavors.
Nutritional Information
While the specific nutritional information may vary based on your choice of protein and fillings, a single Grilled Cheese Burrito generally provides around 500-700 calories. This dish serves as a hearty meal that balances protein, carbs, and fiber, making it extra satisfying. Just ensure to enjoy this indulgent treat occasionally as part of a balanced diet.
Storing Tips & Variations for Grilled Cheese Burrito
Leftovers can easily be stored in an airtight container in the refrigerator for 3-4 days. To reheat, simply place the burrito back in a skillet for a few minutes on each side to restore some crispiness. You can freeze ungrilled burritos for up to 3 months; just thaw before cooking! If you’re looking for healthier swaps, consider using whole wheat tortillas or cauliflower rice.
Conclusion for Grilled Cheese Burrito
Don’t wait any longer to experience the blissful combination of a Grilled Cheese Burrito. It’s a comfort food creation that’ll soon become a regular on your dinner table. It’s easy to make, customizable, and every bite is utterly delicious. Grab your ingredients and dive into this culinary adventure today!
FAQs
1. Can I prepare the filling ahead of time?
Absolutely! The filling can be made in advance and stored in the fridge for a day or two before assembling your burritos.
2. What proteins can I use in this recipe?
You can use any cooked protein that you enjoy, such as ground beef, chicken, turkey, or plant-based options like lentils or tofu.
3. Is this recipe suitable for meal prep?
Yes! These burritos can be made ahead and stored in the refrigerator or freezer, making them perfect for meal prep.
4. Can I bake the burritos instead of frying them?
Yes! If you prefer a healthier approach, you can bake them in the oven at 400°F (204°C) for about 20 minutes or until they’re crispy.
5. What can I serve with Grilled Cheese Burritos?
These burritos pair wonderfully with a fresh salad, tortilla chips with salsa, or your favorite dipping sauce. Enjoy!

Grilled Cheese Burrito
Ingredients
Main Ingredients
- 4 large flour tortillas (burrito-size) Soft and pliable, perfect for wrapping.
- 2 cups cooked rice Day-old rice works best.
- 1 can (15 oz) black beans, drained and rinsed Adds fiber and protein.
- 2 cups shredded cheese (Mexican blend or cheddar) Melts beautifully.
- 1 cup cooked protein Ground beef, chicken, carnitas, etc.
- 1/2 cup salsa or pico de gallo Adds freshness.
- 1/4 cup sour cream Adds creaminess.
- 2 tbsp taco seasoning A blend of spices.
- 1 diced jalapeño (optional) Adds spice.
- 1/4 cup diced onion Aromatic base.
- 2 cloves garlic, minced Enhances flavor.
- fresh cilantro, chopped For garnish.
- Butter or olive oil for the pan For frying.
- Extra cheese for the outside Adds a crust.
- Corn kernels, diced tomatoes, avocado or guacamole, hot sauce, pickled jalapeños, lettuce or spinach Optional additions.
Instructions
Prep Your Filling
- Warm the rice in the microwave with a splash of water and season with half the taco seasoning.
- In a bowl, combine the seasoned rice, black beans, cooked protein, salsa, and remaining taco seasoning. Adjust seasoning to taste.
Assembly Line Time
- Lay tortillas flat and spread about 1/4 of the filling along the center, leaving 2 inches on each side.
- Add sour cream, sprinkle with cheese, and any extra ingredients.
The Wrap Game
- Fold the sides of each tortilla and roll from the bottom up, maintaining tension.
The Grilled Cheese Treatment
- Heat a skillet over medium heat and brush with oil or butter. Sprinkle shredded cheese onto pan.
- Place the burrito seam-side down onto the melted cheese.
Golden Brown Perfection
- Cook for 3-4 minutes until golden brown, then carefully flip and repeat.
Rest and Slice
- Let burrito rest for 2-3 minutes, then slice diagonally.